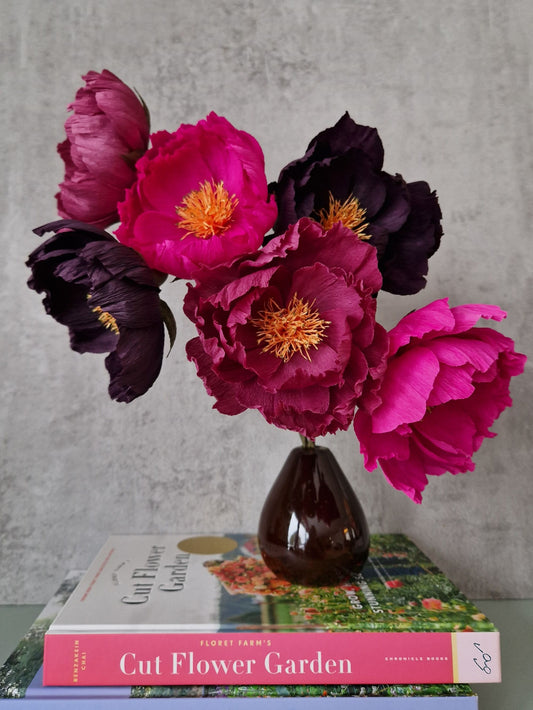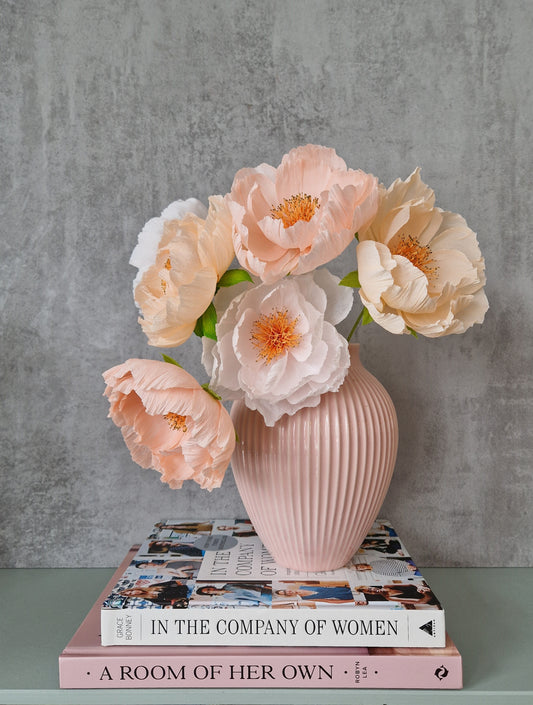

If you want to make detailed stamens for your paper flowers, this method is a must-have! Once you try it, there's no turning back. Here, I'm sharing an easy and effective method for creating the most beautiful stamens. Your paper flowers will be SO happy.
Stamens are located in the center of the paper flower, and in nature, they of course come in thousands of different versions. In this guide, I will show you how to make stamens with a focus on the tip of each stamen and also on how to create depth in the entire bouquet of stamens.
It's incredibly easy – the only tools you'll need are:

Crepe paper:
If you use thick crepe paper, such as 180g or doublette, your stamens will be stiff and hold their shape for a long time. Thick crepe paper is good to use if you are making large paper flowers. 90g or thinner crepe paper is good to use for smaller paper flowers, and you will also be able to cut very narrow and fine stamens. In this guide, I have used 90g crepe paper.
Alcohol-based markers:
Alcohol-based markers are the best to use for this because they penetrate the paper and saturate it completely. Often, the color bleeds through to the back, so you don't have to draw on both sides. The color also runs up along the ridges of the paper, which can give a really nice effect. The markers should have a flat nib, as this makes the coloring neater than if you use a pointed nib.
Alcohol markers last a long time, and once you've bought a handful of markers in good colors, you won't need to invest more money in this method. Furthermore, combined with different colored crepe paper, you can create beautiful stamens in countless color combinations.
Scissors:
For stamens made from thin crepe paper, I usually use my 13cm Fiskars sewing scissors to cut with. Because sewing scissors are very small and pointed, they provide a precise cut, which makes it easy to cut very narrow stamens. For thicker crepe paper, I use my 17cm Fiskars paper scissors to get more cutting power. Here, the sewing scissors are too weak, I find.
Paper clip:
When cutting the stamens, you'll be cutting through several layers of crepe paper at the same time, and a paper clip is great for holding all the layers in place while you cut.
Assembly instructions for the stamens:
Cut a strip of crepe paper 5 x 7cm, so that the vertical lines in the paper run parallel to the short side. (Adjust the measurements to fit the size of your paper flower).

Stretch the paper.

Draw with the marker along one edge. The line should be very narrow, a maximum of a couple of millimeters.

Draw wide strokes with an alcohol marker along the middle of the strip.

Fold the strip 3-4 times and secure the layers with the paper clip.

Cut strips as narrow as possible, up to 1 cm from the bottom edge.

Roll the strips between your fingers to make them narrow and round.


Apply glue to the bottom part of the strip and roll it around one end of a floral stem.

Good to know:
- It gives the best result with a dark color on light crepe paper.
- Cheap markers can be just as good as expensive ones. My very best markers were bought at Søstrene Grene.
- Play with marker colors: for example, color with one color along the top edge and another color in the middle of the strip.
- When coloring the middle of the strip with the broad end of the marker, try to drag the marker across the paper so that the color becomes weaker and weaker – just as if you were painting with a brush.
Examples of coloring stamens and their paper flowers:


How do you usually make stamens for your paper flowers, or do you have any tips you can share with us? Please leave a comment below.